Your first showing happens online. When buyers scroll through listings for Hartselle homes, strong photos decide whether they click, save, and schedule a tour. If getting every room picture-perfect feels overwhelming, you are not alone. This guide gives you a simple, local plan to prepare your home for professional photography so your listing earns more attention and faster showings. Let’s dive in.
Why pro photos matter in Hartselle
Professional photos shape first impressions and help your home stand out in search results. A large share of buyers start online, and better photos drive more clicks and showing requests. Insights from the National Association of Realtors and Zillow Research highlight how visual quality influences buyer behavior and engagement.
Great listing photos are more than “pretty.” They show accurate light, true room size and layout, and clean curb appeal. Done right, images help buyers imagine living in your home and lead to more qualified in-person visits. To get there, you need the right prep, the right timing, and a plan tailored to Hartselle’s climate and housing styles.
Plan your photo day
Choose the right day and time
Hartselle sits in a humid subtropical zone with hot summers and mild winters. Summer humidity can create midday haze and harsh shadows, so exterior photos look best in early morning or late afternoon during the golden hour. For planning around seasonal patterns, check climate normals from NOAA’s National Centers for Environmental Information. If storms roll through or wind leaves debris, reschedule so your yard and exterior look their best.
Coordinate with your HOA and neighbors
If your property is in an HOA, confirm rules about visible changes such as porch decor, yard signs, or outdoor furniture. Give neighbors a heads-up about photo day so the street and driveways stay clear. A clean streetscape helps the front elevation look open and inviting.
Consider drone and virtual tours
Aerial photos can highlight larger lots, rooflines, or proximity to parks and water. Commercial drone operators must follow FAA rules under Part 107. Ask your agent if aerials make sense for your property and confirm your photographer follows FAA Part 107 guidance.
Two-week prep timeline
2+ weeks out: Repairs and yard refresh
- Complete repairs like peeling paint, loose railings, and burned-out bulbs.
- Refresh landscaping with pruning, edging, and new mulch.
- Schedule your photographer for a daylight slot that suits your home’s light.
3–7 days out: Deep clean and stage
- Deep clean floors, counters, appliances, and baths. Steam carpets if needed.
- Declutter and depersonalize. Store family photos, excess decor, and visible meds.
- Stage key rooms with fewer pieces so flow and space stand out.
- Remove or rearrange bulky furniture that crowds walkways.
24 hours out: Final checks
- Touch up scuffs, polish mirrors, and test every light.
- Confirm parking and access for the photographer.
- Arrange pets so they are safe and out of the frame.
Day of shoot: Light and last looks
- Open all curtains and blinds to draw in natural light.
- Turn on every interior and exterior light for balanced exposure.
- Hide bins, hoses, toys, and pet items. Move cars off the driveway and street if possible.
Room-by-room staging guide
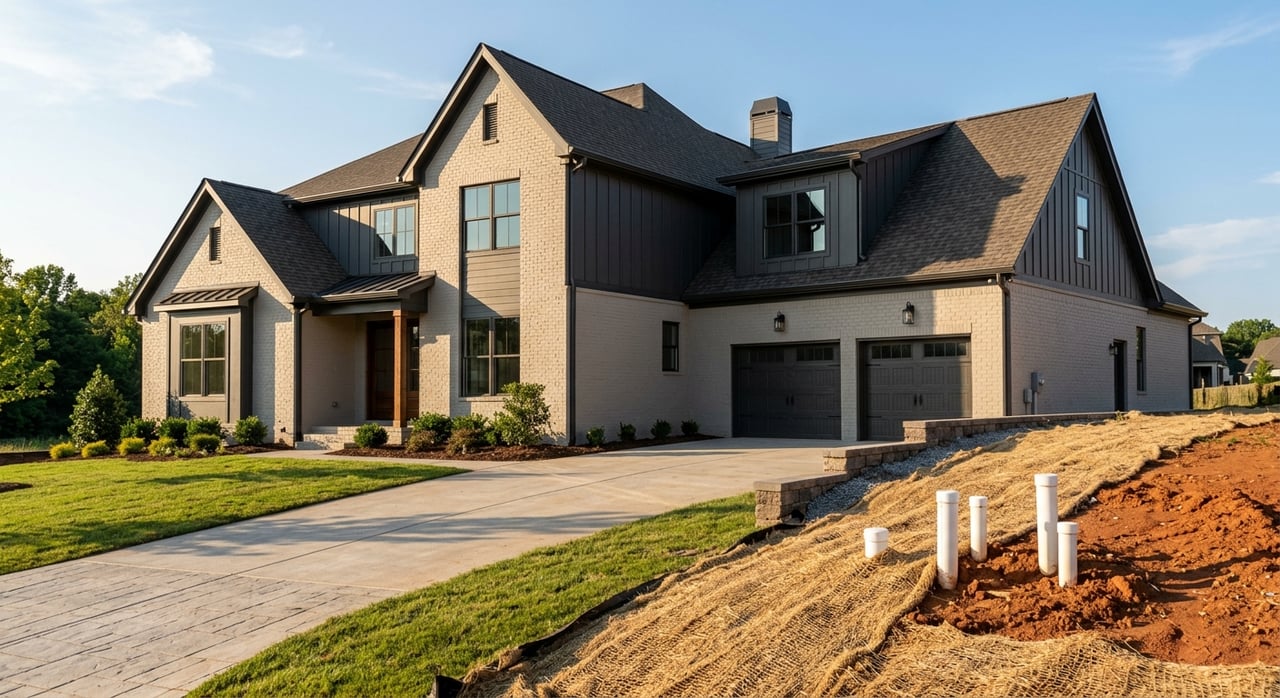
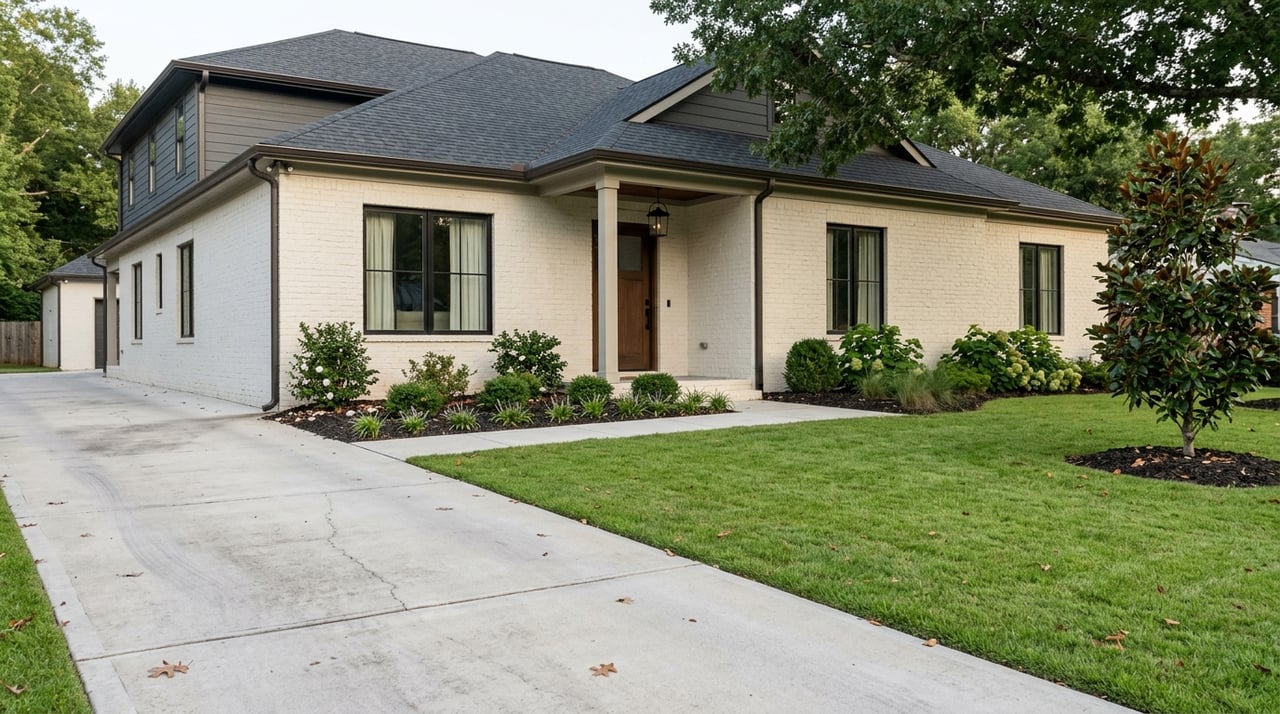
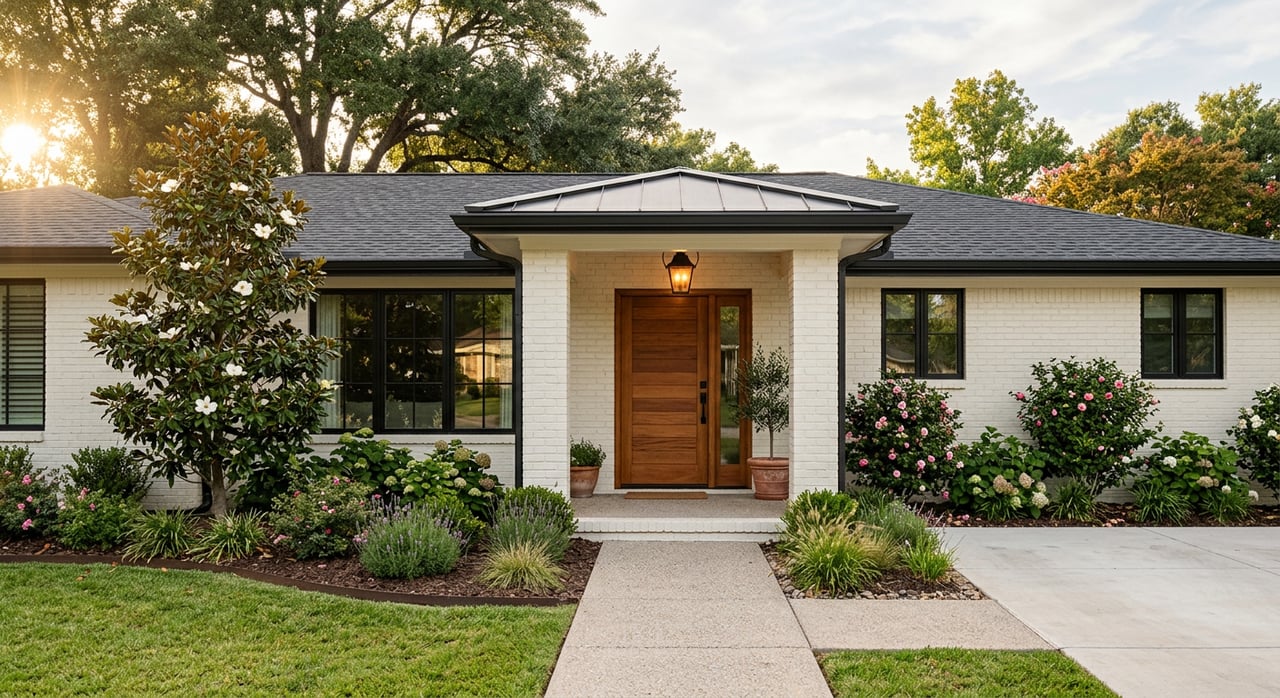
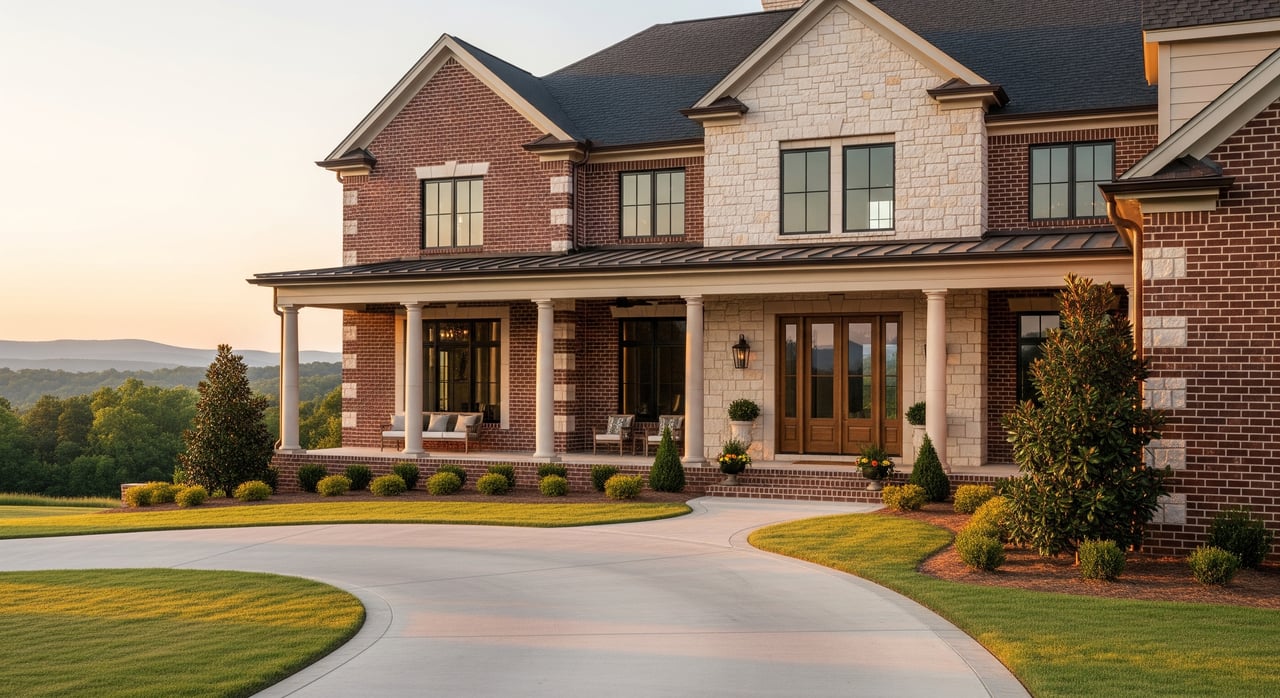
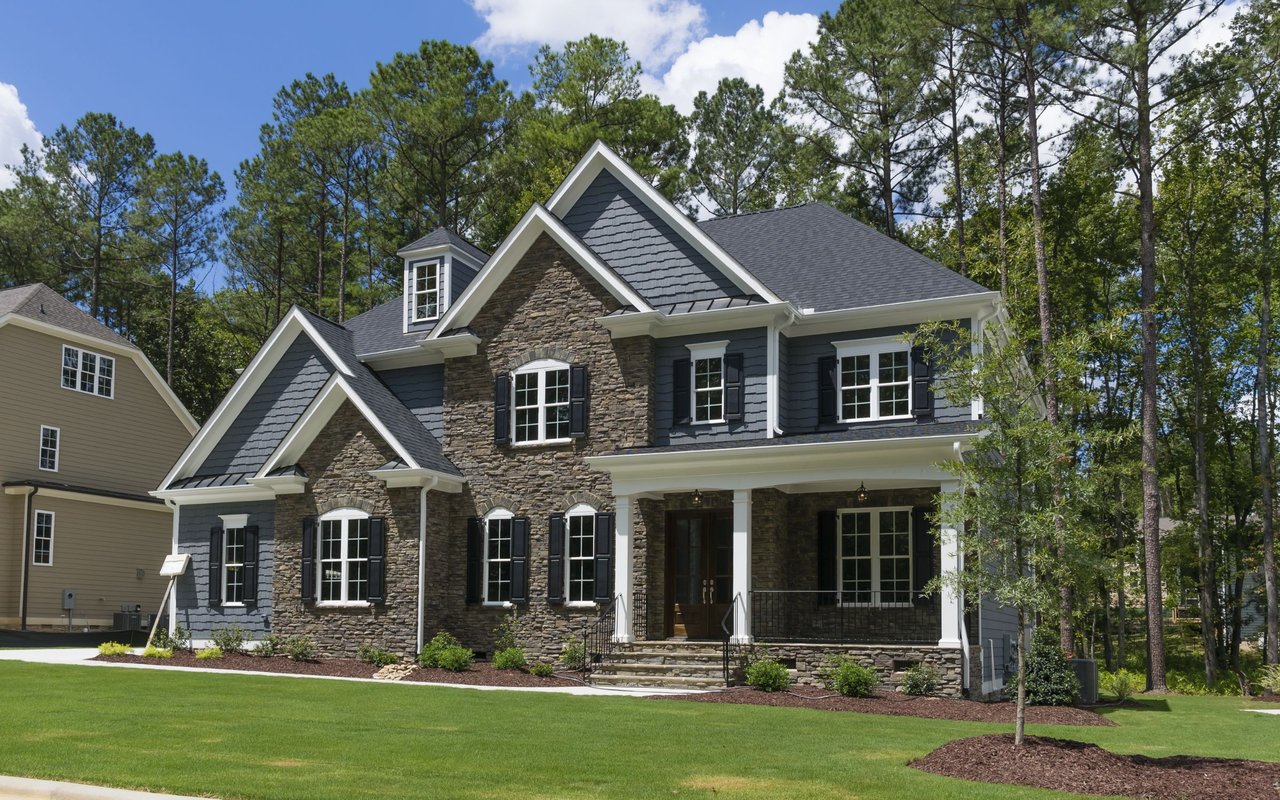
Exterior and curb appeal
Hartselle homes often showcase porches, front yards, and driveways. That makes the approach and entry critical.
- Mow, edge, and prune. Remove dead plants and sweep all hard surfaces.
- Power-wash siding, windows, and the driveway. Clean screens.
- Touch up trim, shutters, and the front door. Replace missing house numbers.
- Stage the porch with one or two chairs, a tidy planter, and a clean doormat.
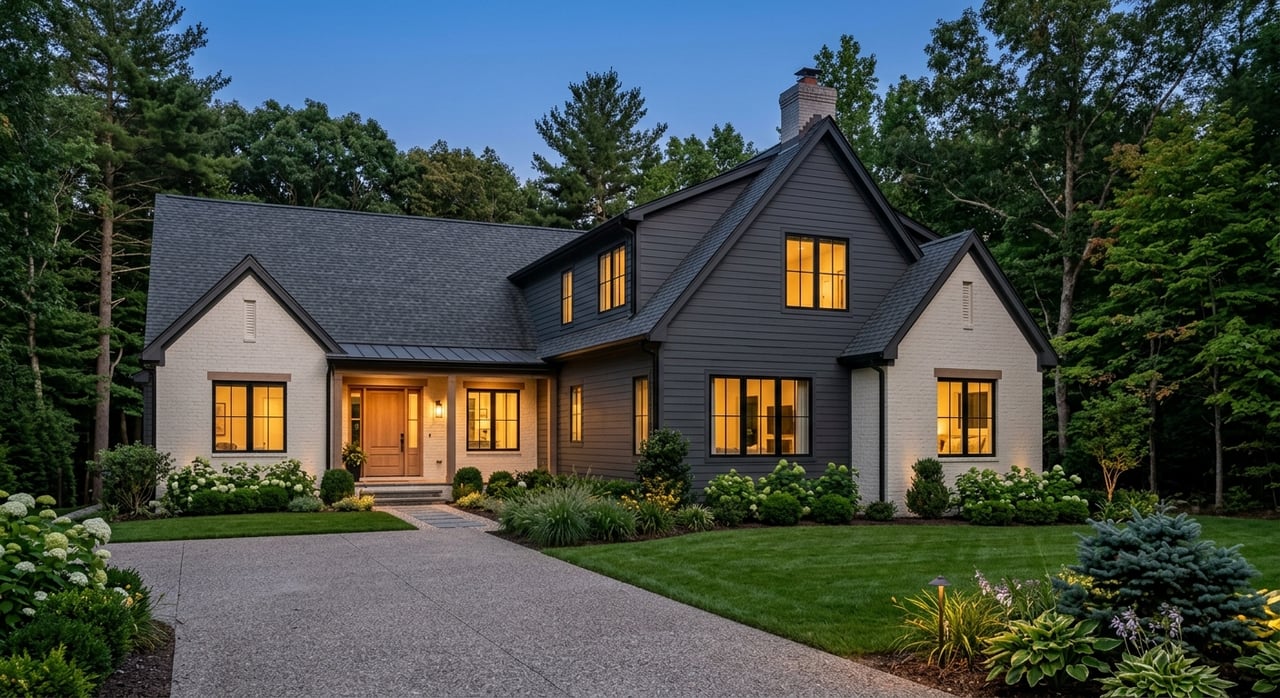
- Turn on porch and landscape lighting for warm, inviting dusk shots.
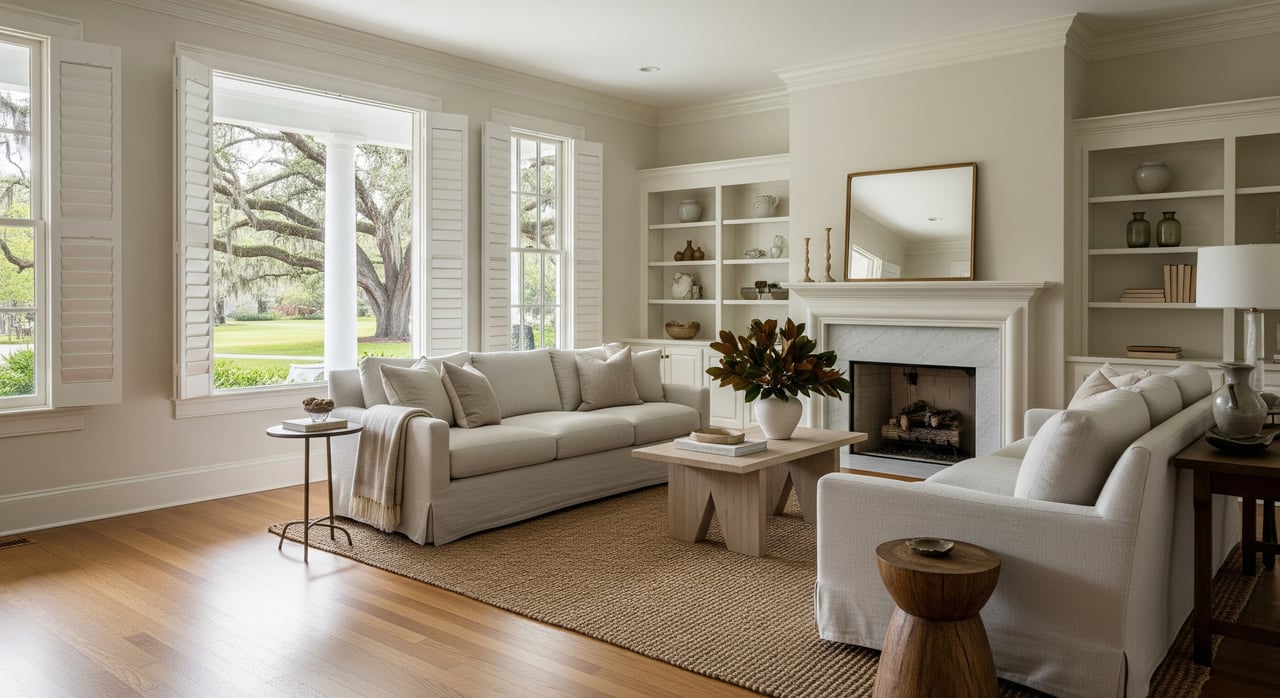
Entry and living areas
- Keep the foyer clear. A slim console, mirror, or small plant is enough.
- Remove small rugs that break sightlines. Center furniture around a focal point.
- Hide cords, remotes, exercise equipment, and hobby clutter.
- Angle one or two pieces slightly to add depth without blocking pathways.
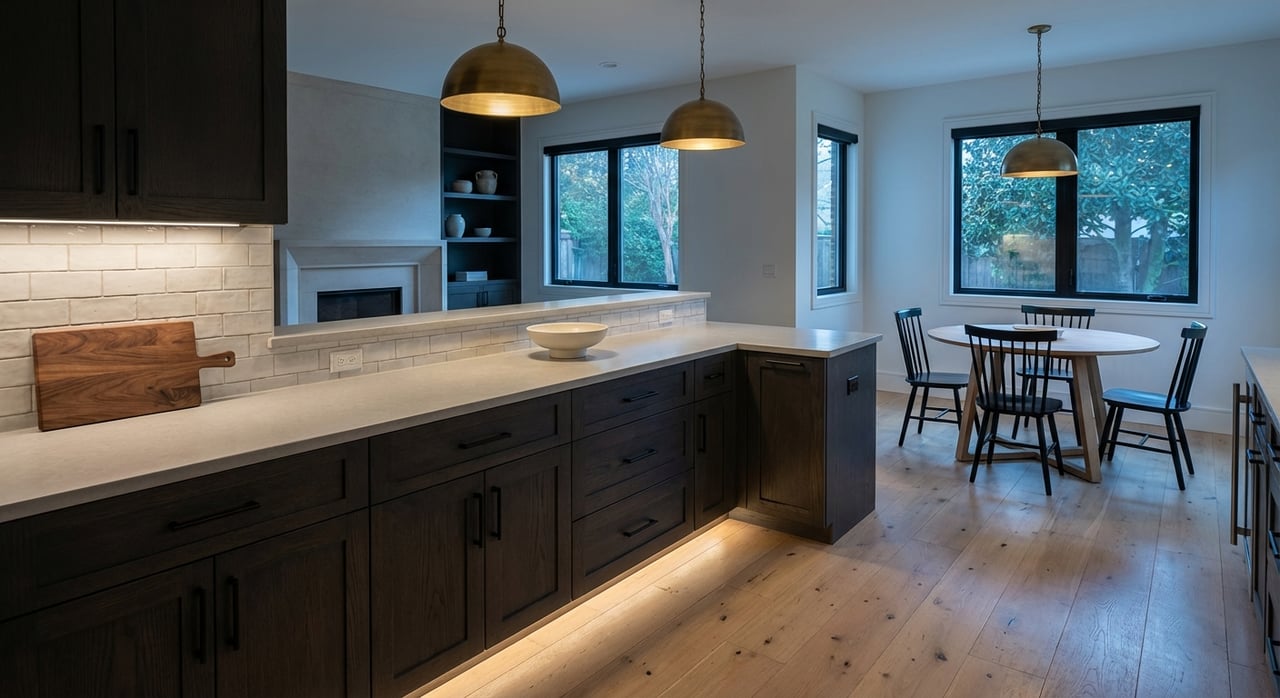
Kitchen and dining
- Clear counters to a few curated items like a fruit bowl or vase. Store small appliances.
- Shine sinks, fixtures, and appliances. If interior appliance shots are planned, clean inside the oven and refrigerator.
- Set the dining table simply. One runner, a few settings, or a centerpiece is plenty.
Primary and secondary bedrooms
- Use neutral bedding with two pillows and a neat throw. Smooth and tuck sheets.
- Clear nightstands and dressers. Hide cords, chargers, and hampers.
- Open closet doors only if they are tidy and show real storage value.
Bathrooms
- Remove all toiletries, toothbrushes, and personal items.
- Replace old shower curtains and hang fresh towels.
- Clean grout, glass, fixtures, and mirrors until they sparkle.
Laundry, mudroom, and garage
- Clear floors and fold or store laundry out of sight.
- Show storage solutions with organized shelves or bins.
- Park cars outside so the garage reads as usable space.
Basements, attics, and workshops
- Brighten dark areas with fresh bulbs and open blinds if available.
- Declutter and create clear pathways. Present unfinished areas as clean and dry.
- In finished spaces, keep decor minimal to highlight square footage and function.
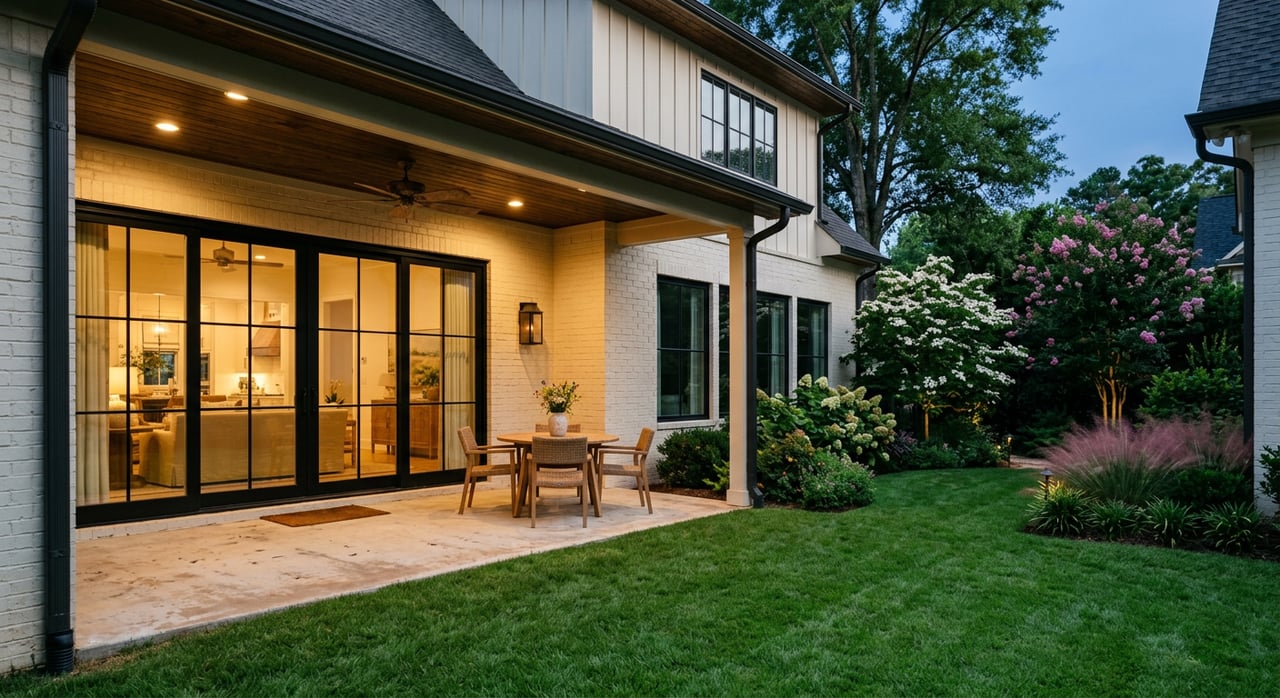
Outdoor living and special features
- For decks and patios, sweep and set simple seating. Avoid crowded accessories.
- If you have a pool or water feature, make sure the water is clear and the cover is removed.
- If your home includes historic details, plan for both wide angles and a few close-ups to capture character.
Build your shot list with your photographer
Essential shots to capture
Most single-family listings benefit from 20 to 30 high-quality images. Work with your photographer to prioritize:
- Front exterior wide, plus a detail of the entry or porch
- Living room and family room
- Kitchen wide, plus detail shots of finishes or features
- Primary suite and bath
- Additional bedrooms and baths
- Dining room or home office
- Backyard, porch, deck, or pool
- Garage, laundry, and storage
- Any special amenities such as a fireplace, built-ins, or workshop
- Floorplan or neighborhood context when appropriate
Vertical and horizontal versions
Ask for both vertical and horizontal crops. Vertical images are ideal for mobile search and social media, while horizontal images fit MLS displays and property websites. Having both gives you flexibility across platforms.
Editing standards and delivery
Your goal is realistic, attractive images. Photographers often use wide-angle lenses, tripods, and HDR or bracketing to balance bright windows and interior light. Request high-resolution JPEGs for MLS and marketing, and ask for a few high-res files suited for print if you plan postcards or brochures. Keep edits true to life and avoid changes that misrepresent size or layout.
Common mistakes to avoid
- Skipping repairs that will be obvious in photos, such as peeling paint or sagging gutters.
- Leaving cars in the driveway or trash bins visible at the curb.
- Shooting at midday in peak summer when light is harsh and shadows distract.
- Mixing bulb colors. Replace with bright, warm-white bulbs for consistency.
- Over-staging with too many accessories. Less is more.
- Using heavy or deceptive retouching that alters the space.
Local tips that elevate photos
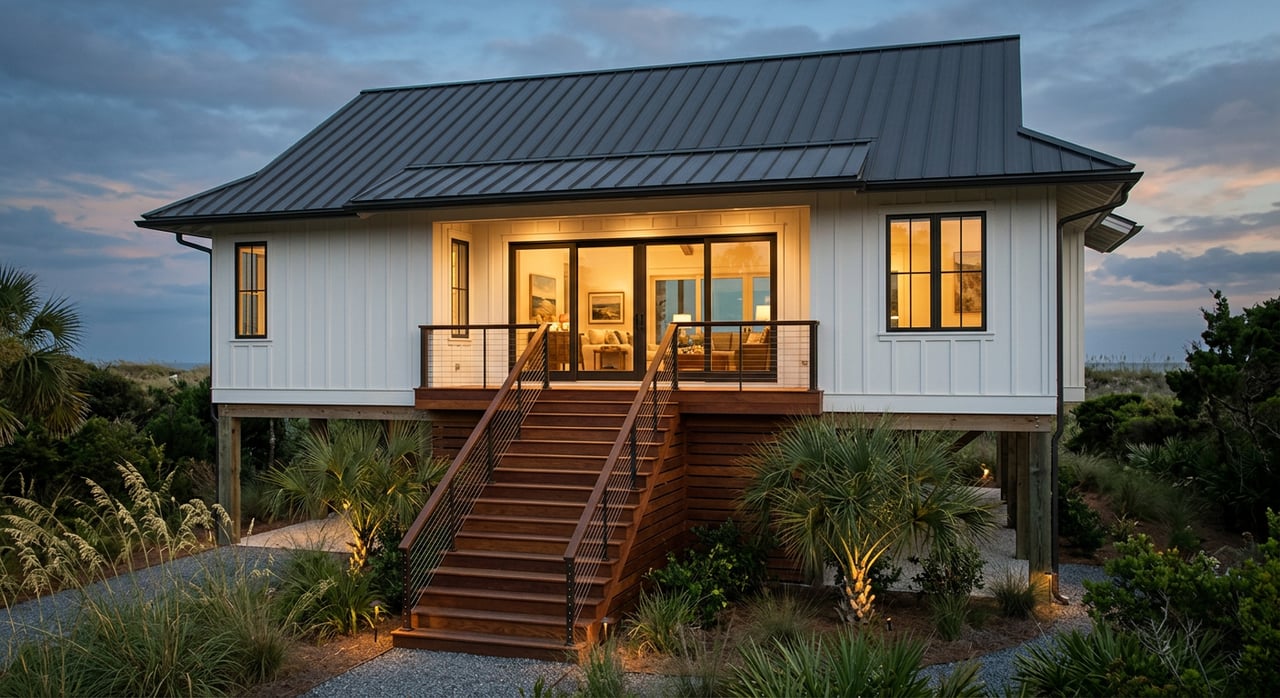
- Lean into porch life. Many Hartselle homes feature inviting porches. A simple, clean setup photographs well.
- Show storage. Organized garages, closets, and utility areas are practical selling points in our market.
- Watch the weather. After a storm, tidy the yard and check for debris or damage before photos.
- Think neighborhood rules. Confirm any HOA restrictions and plan staging that complies.
- Consider seasonal timing. Spring and fall greenery can make exteriors pop, while winter leaf-off can reveal attractive architectural lines.
Evidence and resources
If you want more background on buyer behavior and photo impact, review NAR’s research hub at NAR Research and Statistics and the insights at Zillow Research. For climate and planning, consult NOAA’s NCEI. For landscaping best practices, the Alabama Cooperative Extension System offers homeowner guidance. For aerial photography rules, see FAA Part 107.
Work with a local team that manages the details
You deserve a smooth process and a polished presentation that reflects your home’s value. Our team pairs hyperlocal knowledge with professional listing marketing, including coordinated photography, smart scheduling, and consultative prep that keeps you on track. If you are planning to list in Hartselle, let’s build a photo plan that helps your home shine from day one. Reach out to the The Wright Bunch Team to talk timing, prep, and strategy.
FAQs
How long does home photo prep take in Hartselle?
- Most sellers can complete cleaning and light staging in a few days, while repairs and landscaping often take 1 to 2 weeks.
Do I need a professional stager or just declutter?
- Many homes photograph well with solid cleaning, decluttering, and minimal staging; a pro stager can help higher-priced homes or tricky layouts.
How many photos should my listing include?
- A typical single-family home performs well with 20 to 30 high-quality images, with more for larger properties.
Are drone photos allowed for my property?
- Yes when appropriate, but the operator must follow FAA Part 107 rules and avoid restricted airspace; ask your agent about feasibility.
Is virtual staging or heavy editing acceptable?
- Virtual staging can work if clearly disclosed on platforms that require it; avoid edits that misrepresent room size or features.
Can I take my own listing photos with a smartphone?
- You can, but professional photographers deliver consistent exposure, composition, and editing that usually perform better online.